
- All Posts
- Blog
- Back
- Animation
- CGI
- Graphic design
Animation Softwares Home How to make 2D Animation in Blender for beginners? How to make 2D Animation in Blender for…
Beginner’s Guide to Maya Autodesk: Perfect for Students Are you an aspiring 3D artist or animator looking to break into…
What is Blender Software ? What is it Used For? In the dynamic world of animation, the tools you choose…

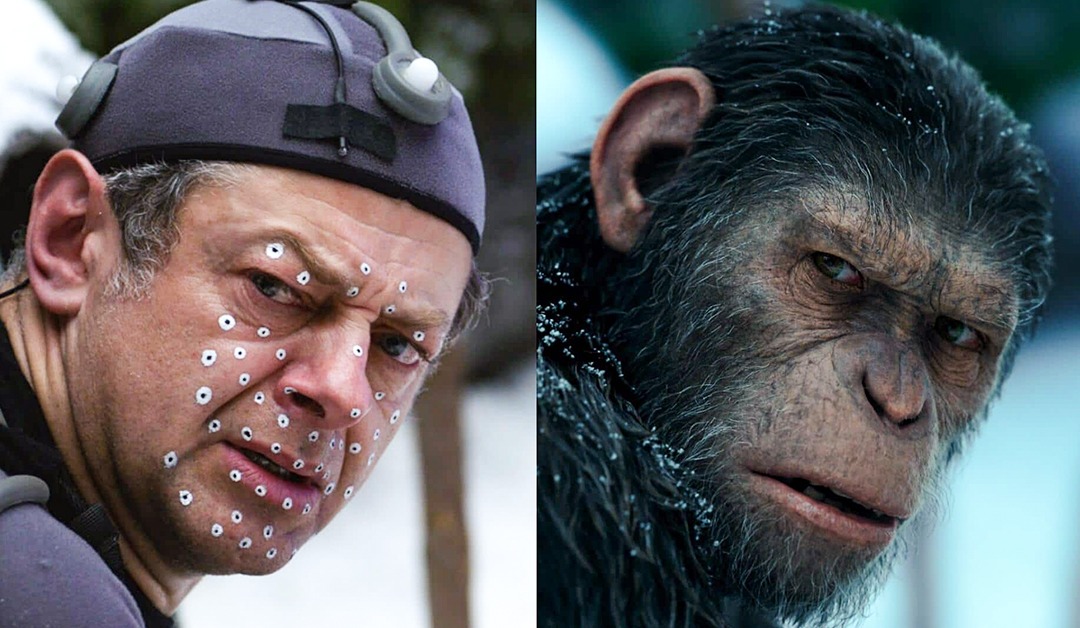
What are the Differences between VFX and CGI? Is CGI better than VFX? Welcome to the Northern School of Animation’s…
What are the 8 types of graphic design in art? Graphic design is a multifaceted field that encompasses a wide…
What is CGI? What is the process of CGI in animation? In the ever-evolving world of animation, a technological revolution…

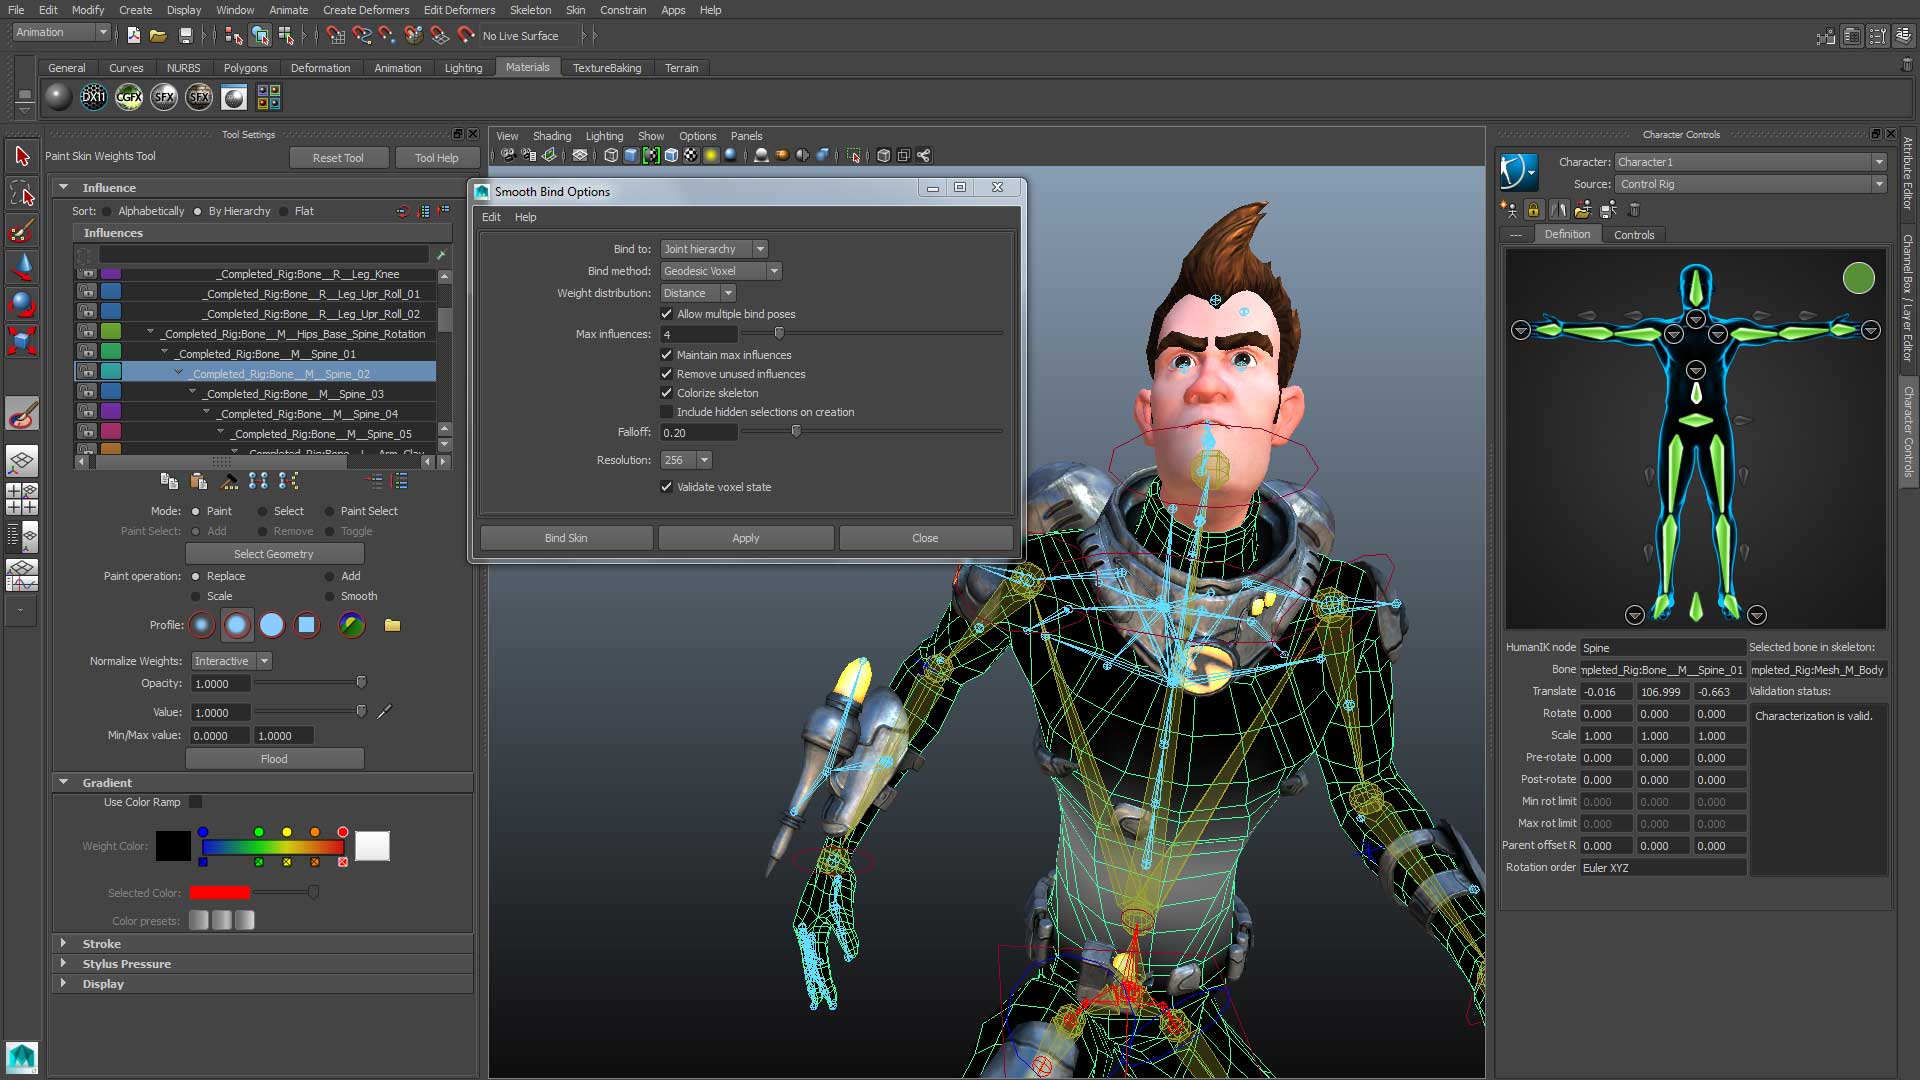
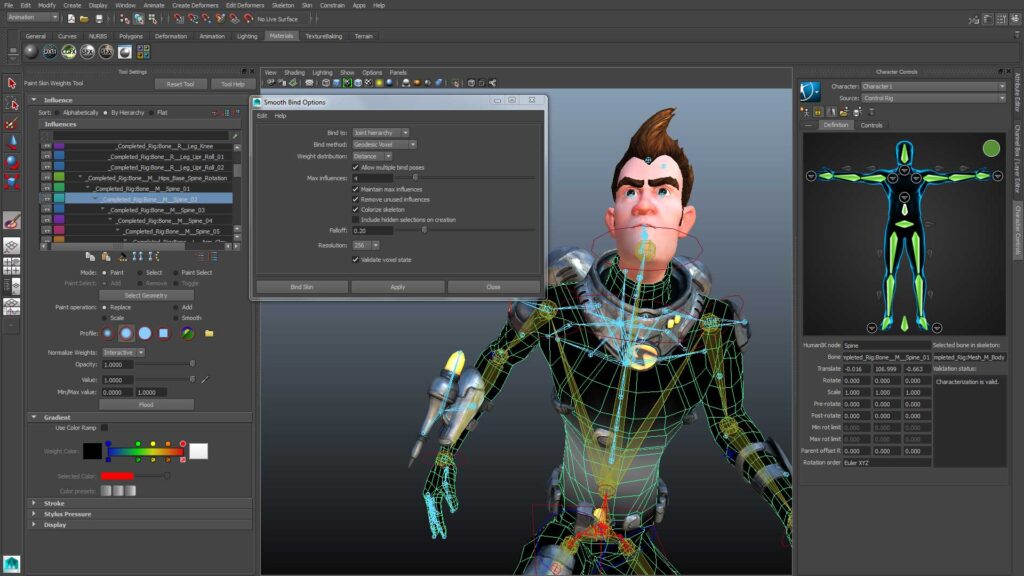
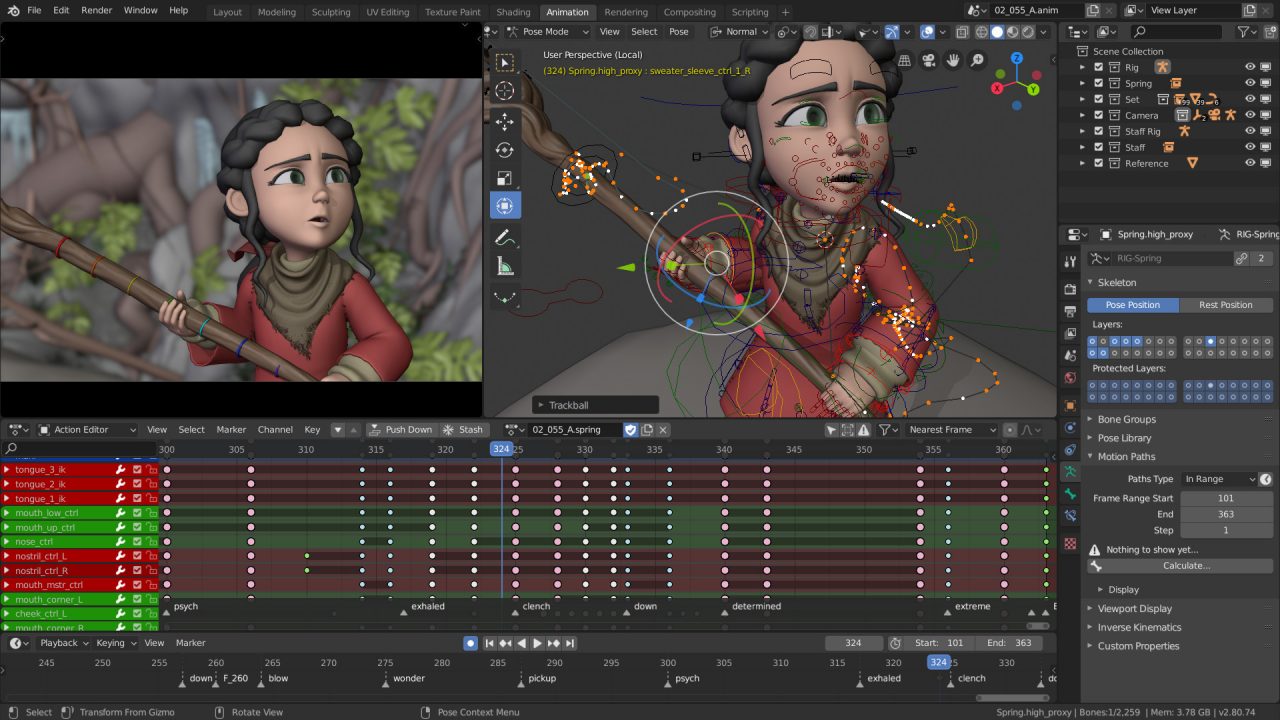
Boost Your Skills: 5 Must-Know 3D Animation Techniques

5 Tips to Boost Your Animation Career Salary
Unleashing Creativity: 5 Essential 2D Animation Software Tools