Animation Softwares Home How to make 2D Animation in Blender for beginners? How to make 2D Animation in Blender for…
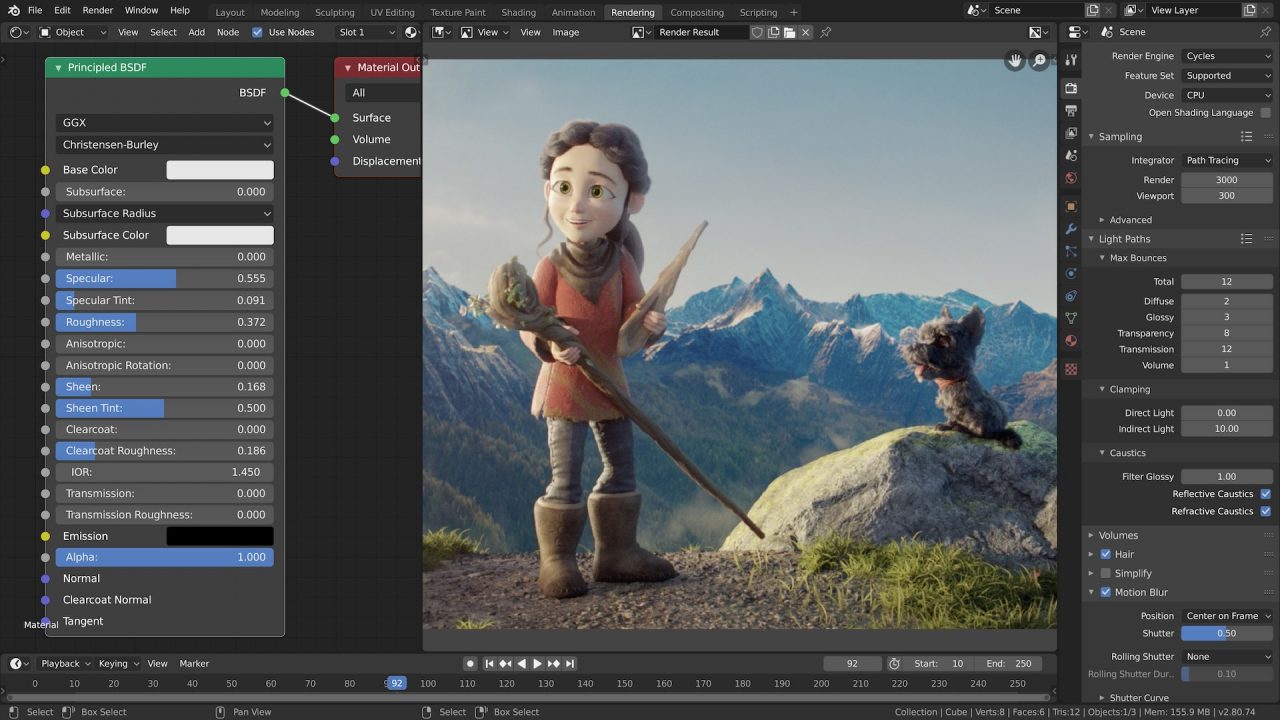
Blender is a powerful, free, and open-source 3D computer graphics software used for creating animated films, visual effects, art, 3D printed models, interactive 3D applications, and video games. It’s available for Windows, macOS, and Linux, and it supports the entire 3D pipeline – modeling, rigging, animation, simulation, rendering, compositing, motion tracking, and video editing.
While Blender is primarily designed for 3D work, it can also be used for 2D animation tasks. It provides a variety of tools and features that make it a versatile choice for 2D animators, especially those on a budget or looking to learn a multi-purpose software.
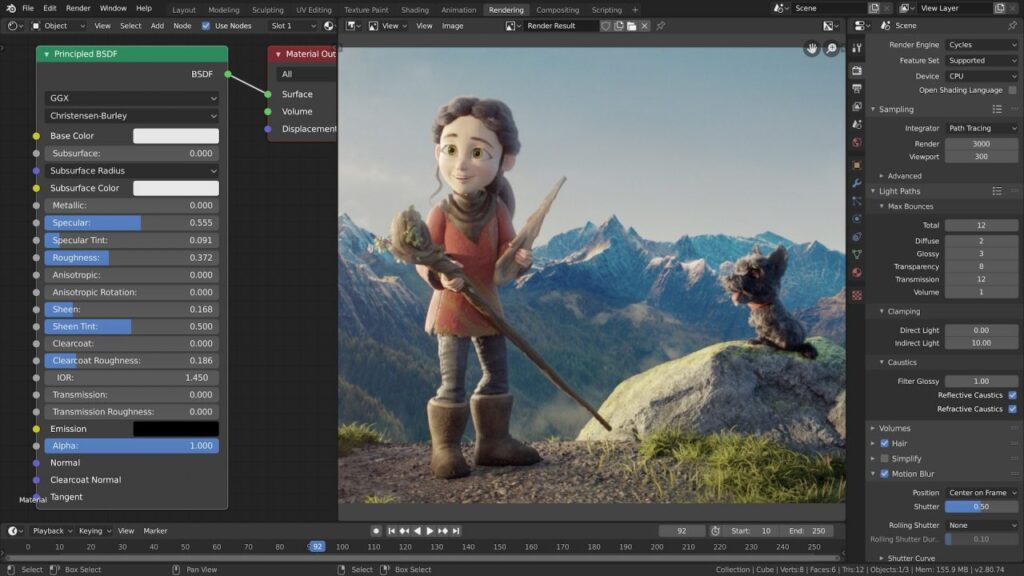
Before we dive into the animation process, let’s set up Blender for 2D work. Follow these steps:
1. Open Blender and go to the User Preferences (Edit > Preferences on Windows/Linux or Blender > Preferences on macOS).
2. In the Preferences window, navigate to the Input tab.
3. Under the “Ndof” section, uncheck the “Navigation” option for both “Rotate” and “Translate.” This will prevent accidental rotation or translation of your 2D artwork when using a 3D mouse or trackpad gestures.
4. Next, go to the “Add-ons” tab and enable the “Import Images as Planes” add-on by checking the box next to it.
5. Save your preferences by clicking the “Save Preferences” button at the bottom of the window.
Now that Blender is set up for 2D animation, it’s time to create or import your 2D artwork. Here are a few options:
1. Drawing in Blender: Blender has a Grease Pencil tool that allows you to draw directly in the 3D viewport. This can be useful for rough sketches or storyboarding, but it may not be the best choice for detailed artwork.
2. Importing Artwork: If you’ve created your artwork in a separate program like Adobe Photoshop, Krita, or GIMP, you can import it into Blender as an image plane. Go to File > Import > Images as Planes, and select your image file(s). This will import each image as a separate plane object in your scene.
3. Using Blender’s Built-in Tools: While Blender’s modeling tools are primarily designed for 3D work, you can use them to create simple 2D shapes and artwork. The Bezier Curve tool, for example, can be used to create vector-based 2D shapes and illustrations.
Once you’ve imported or created your 2D artwork in Blender, you can move, scale, and position it as needed using the standard transform tools (Grab/Move, Scale, and Rotate).
With your 2D artwork in place, it’s time to bring it to life through animation. Blender offers several techniques for animating 2D artwork, including keyframing, shape keys, and the Grease Pencil tool. Here’s a brief overview of each method:
1. Keyframing: Keyframing is the process of setting specific values for an object’s properties (such as position, rotation, or scale) at different points in time. Blender will then interpolate the values between these keyframes to create smooth animations. To keyframe an object’s position, for example, you would move the object to the desired location, insert a keyframe (using the “I” key or the keyframe menu), move the timeline cursor to a different frame, reposition the object, and insert another keyframe.
2. Shape Keys: Shape keys allow you to deform the shape of an object over time. This technique is particularly useful for creating lip-syncing animations or morphing effects. To use shape keys, you’ll need to create a base shape and one or more target shapes. Blender will then blend between these shapes based on the shape key values you set at different frames.
3. Grease Pencil: The Grease Pencil tool in Blender can be used for both drawing and animating 2D artwork. You can create keyframes for individual strokes or layers, allowing you to animate the artwork frame-by-frame. This method is similar to traditional hand-drawn animation techniques.
Whichever animation method you choose, Blender’s non-linear animation (NLA) system allows you to layer and blend multiple animation actions, making it easy to combine different animation techniques in a single project.
Once you’ve completed your 2D animation, it’s time to render it out as a sequence of images or a video file. Blender’s rendering engine can handle a variety of output formats, including PNG, JPEG, and various video codecs.
To render your animation, go to the Render tab in the Properties window and adjust the settings as needed. You can set the output resolution, frame rate, and file format, among other options.
If you want to composite your 2D animation with additional elements or special effects, Blender’s built-in compositing nodes can be a powerful tool. The compositing nodes allow you to layer and combine multiple image and video inputs, apply filters and color corrections, and perform advanced compositing operations.
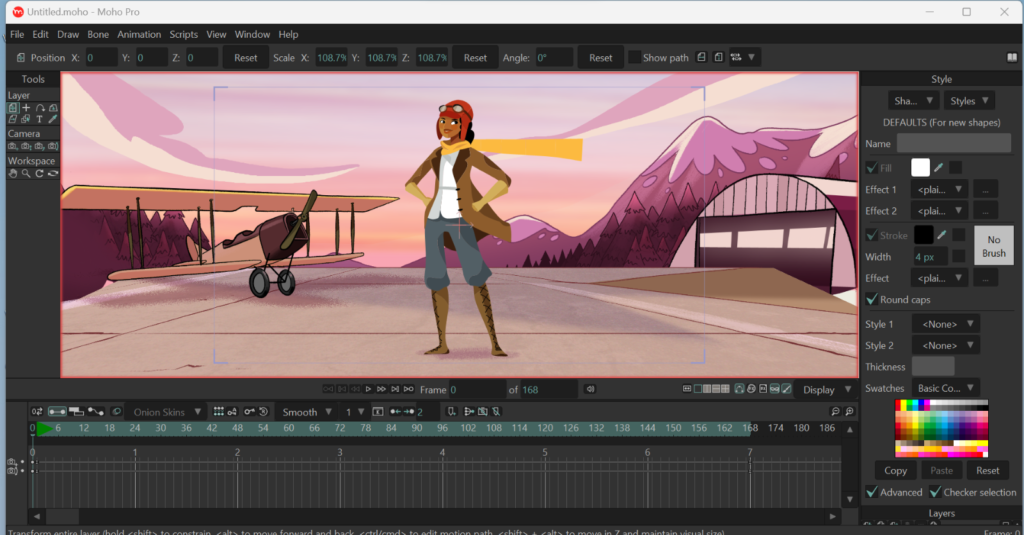
While Blender is a fantastic option for 2D animation, especially for beginners and those on a budget, there are several other animation software programs available. Here are some popular alternatives:
1. Adobe Animate: Formerly known as Adobe Flash Professional, Adobe Animate is a vector-based animation program that’s widely used for creating web animations, cartoons, and other multimedia projects.
2. Toon Boom Harmony: Toon Boom Harmony is a professional 2D animation software used by many studios for creating animated films, TV shows, and web content.
3. Synfig Studio: Synfig Studio is a free and open-source 2D animation software that uses a vector-based approach similar to Adobe Animate.
4. Pencil2D: Pencil2D is another free and open-source 2D animation software that focuses on traditional hand-drawn animation techniques.
5. TVPaint Animation: TVPaint Animation is a professional 2D animation software that’s widely used in the animation industry. It offers a variety of tools for drawing, animating, and compositing.
Each of these software programs has its own strengths and weaknesses, so it’s worth exploring a few options to see which one best fits your needs and workflow.
Creating 2D animations in Blender may seem daunting at first, but with practice and patience, it can be a rewarding and cost-effective way to bring your artwork to life. Blender’s versatile toolset and robust animation capabilities make it a powerful option for beginners and professionals alike. Whether you’re creating simple animations or embarking on a more ambitious project, Blender can be an invaluable asset in your animation journey.
Dive into the world of 2D animation with Blender at Northern School of Animation. Our beginner-friendly guide walks you through the process of creating captivating 2D animations in Blender. Learn essential techniques, unleash your creativity, and embark on a transformative journey into the vibrant realm of animation. Join us and unlock the skills to bring your artistic vision to life.
Unlock Your Animation Potential and Start your Animation Journey Now!

Animation Softwares Home How to make 2D Animation in Blender for beginners? How to make 2D Animation in Blender for…

Beginner’s Guide to Maya Autodesk: Perfect for Students Are you an aspiring 3D artist or animator looking to break into…
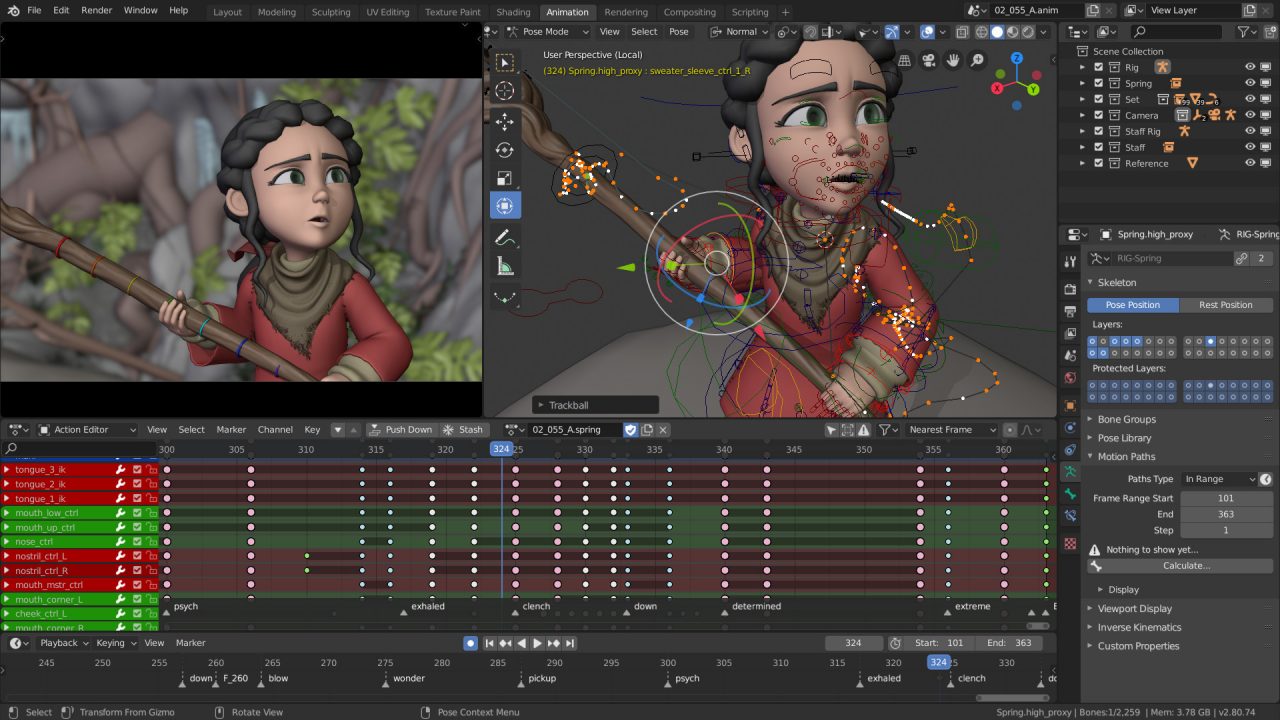
What is Blender Software ? What is it Used For? In the dynamic world of animation, the tools you choose…
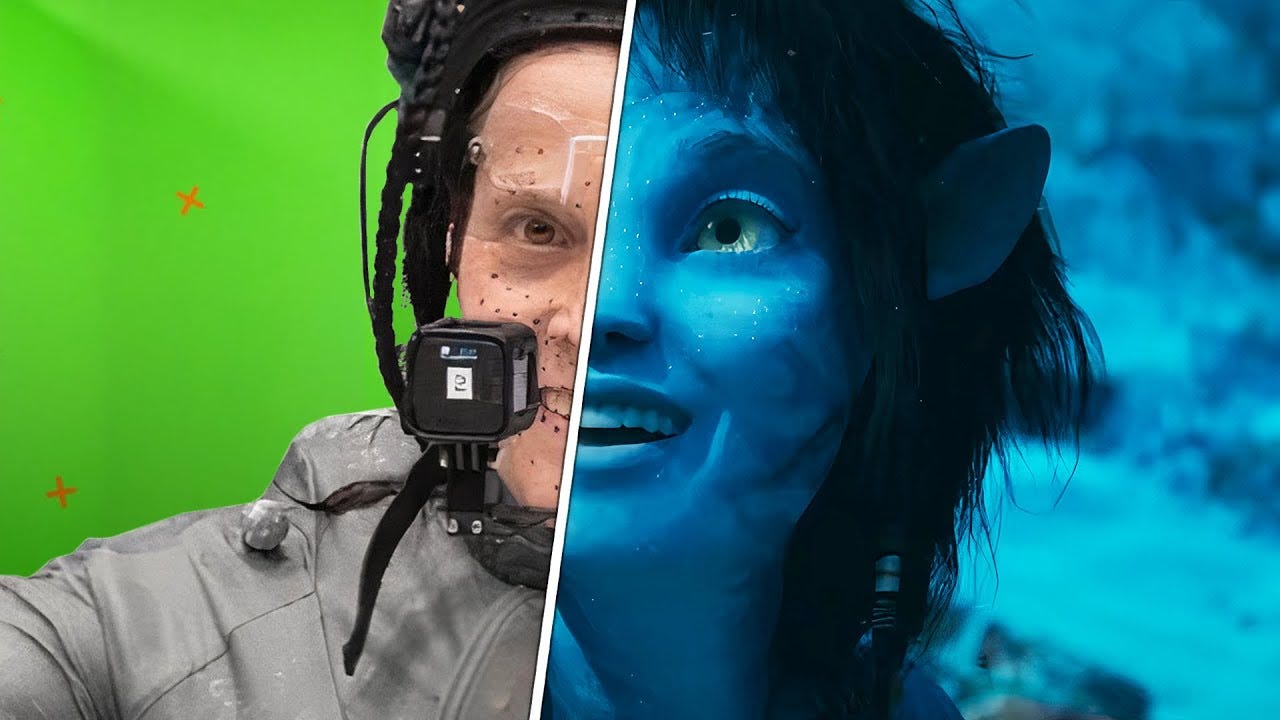
What are the Differences between VFX and CGI? Is CGI better than VFX? Welcome to the Northern School of Animation’s…
What are the 8 types of graphic design in art? Graphic design is a multifaceted field that encompasses a wide…
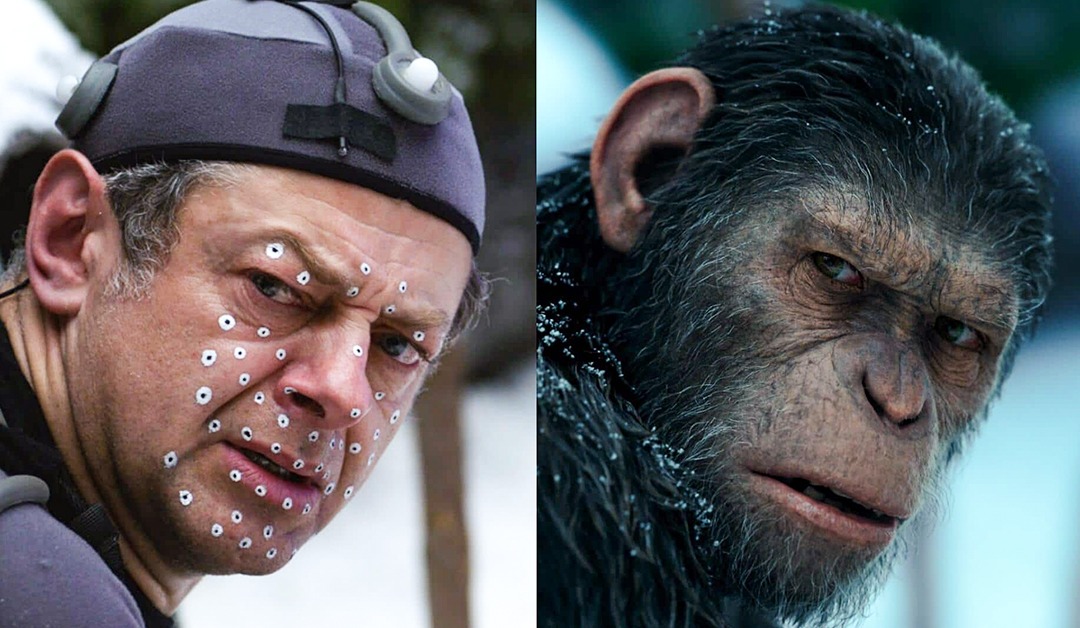
What is CGI? What is the process of CGI in animation? In the ever-evolving world of animation, a technological revolution…
Boost Your Skills: 5 Must-Know 3D Animation Techniques

5 Tips to Boost Your Animation Career Salary
Unleashing Creativity: 5 Essential 2D Animation Software Tools